
Making Your Own Bread — A How To
The world economy is ever-changing, and seemingly never in favour of the working class. Therefore, Homesteading – or elements of that lifestyle – is making a big resurgence. What better place to start thinking about that, than with making your own bread?
So, below we have a step-by-step guide on what you are going to need, and how you can use it to make your first batch! Let’s get started!
What You Are Going To Need
Effectively, you only need a couple of things;
- A mixing bowl or two
- Any form of stirring tool
- Your preferred amount of Flour (500g as a suggestion)
- Yeast (1 sachet as a suggestion)
- Salt
- Olive Oil
- Caster Sugar
- Warm water
- Baking Tray
- Oven!
That’s it! Yes it really is that easy!
Instructions on Making Your Own Bread
Now, time for action! We are on to the Step-By-Step, so grab your ingredients and let’s get going!
Step 1 – Prep The Yeast
Add your Yeast, and a teaspoon of Caster Sugar to 300ml warm water in your mixing bowl. This will feed the Yeast and get it started on reacting for the bread. Leave that to do its work for 5 to 10 minutes – when it starts to foam, you know it’s ready.
Step 2 – Sift Your Dry Ingredients
Either into the same bowl or a new one, sift in your Flour and your Salt, aiming for an even spread around the bowl.
Step 3 – Add Yeast To Flour
If you used a new bowl, add the Yeast solution, and steadily mix it all together. If not, it’s already in the same bowl, and you should still steadily mix it all together.
Step 4 – Knead The Dough
This should form your Bread Dough – if it is too dry, add a little water. If it is too wet, add a dusting of Flour. Either way, knead in what you need, little by little, until you are happy with the consistency. Continue kneading this for 15 to 20 minutes, until you have a smooth dough, malleable, and a little stretchy. You don’t want it to be too flaky, and you don’t want it to be sticky. Smooth and a little squidgy is the aim.
Step 5 – Shape Your Dough
Shape your Bread Dough how you wish (Rolls, Buns, Loaf, etc). You can separate it out into several smaller Breads, or you can bake one big Bread — to your preference. Add a light dusting of Flour to your Baking Tray and arrange your Bread Dough.
Step 6 – Let It Rise
Lightly oil your Bread Dough, and leave it to rise somewhere warm for an hour.
Step 7 – Pre-Heat And Bake
Preheat your Oven to around 200 °C/Fan 180 °C/Gas Mark 6. Remove the cling film from your Bread Dough. Add another dusting of Flour, or a glazing of egg white, or even some Cheese, and bake for 20 minutes – checking every so often.
Step 8 – Allow To Cool, And Enjoy!
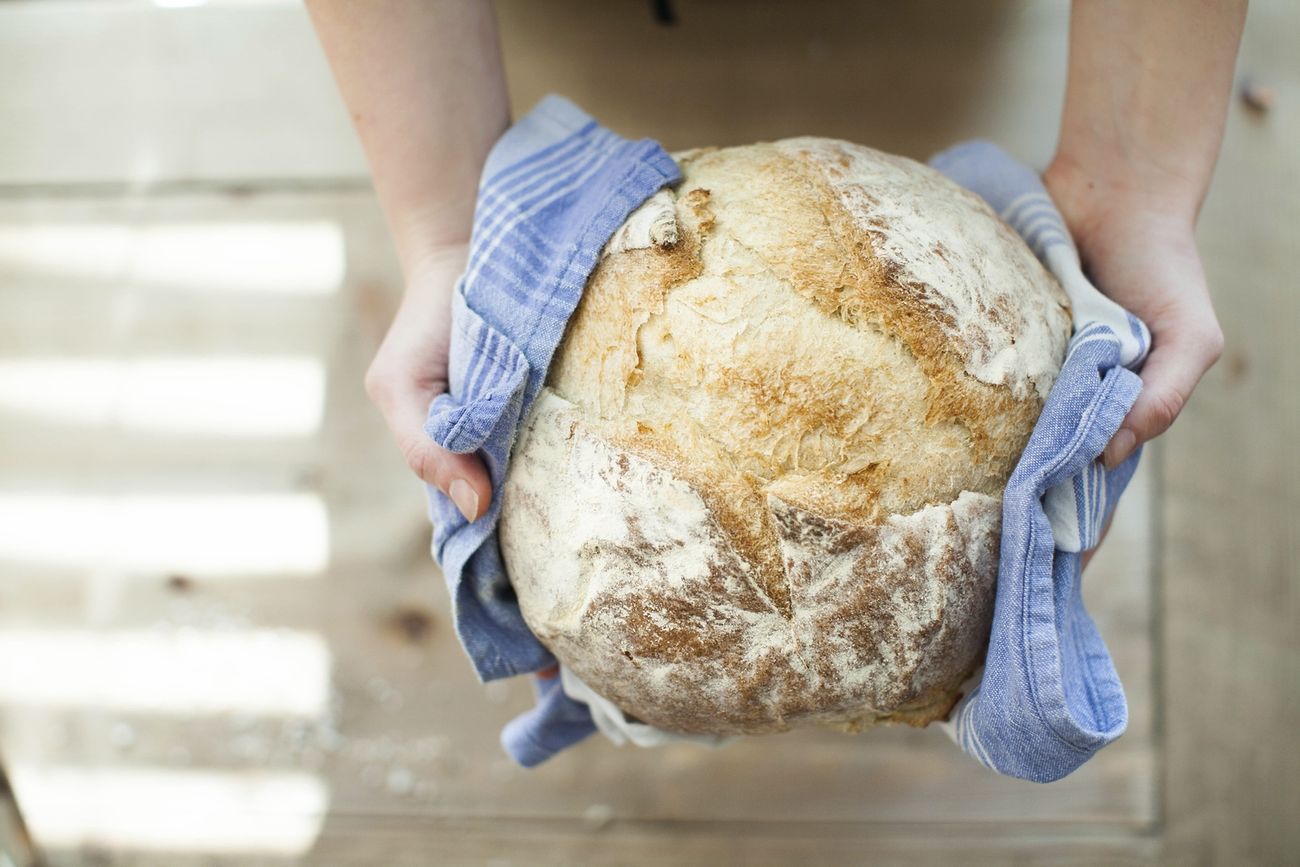
Voilà! You have baked your first batch of Bread!
Tips To Keep In Mind
When you remove your baked Bread from the oven, carefully flip it over and tap the base – if it has a slight hollow sound to it, it is cooked. Make sure you don’t burn yourself!
This Bread can be stored in the Fridge, Freezer, or Bread bin. Alternatively, it can be enjoyed fresh and warm – right out of the oven!
It may take longer to knead a Plain Flour dough, than a Strong Flour dough – so don’t worry if it’s taking its time! Just keep working through the process, and you will get there!
Feel free to add other ingredients to your mix, like cheese, or herbs and spices. Doing this can create all manner of different types of bread! Experiment with it – who knows what you might come up with!
On average, your homemade bread will have a shelf life of 3–5 days, give or take and weather dependent. Freezing or Refrigerating your bread will extend this!
Final Thoughts
And that’s that! Have any suggestions? Feel free to leave a comment!
If you found this article helpful, why not check out some of our other pieces at showingyouthewhey.com