
How to Make Feta at Home
The cost of living is ever-increasing of late – and even if it were to drop again, the chances are it will never go back to the way it used to be. As such, those nice things we love – like Feta Cheese – become less and less available to us.
So what can we do about that? Eat the rich? Maybe – but they don’t quite taste the same. Instead, we can use cheaper and more accessible ingredients, plus a little work, to make these things ourselves! So on that note, let’s have a look at how to make your very own batch of Feta Cheese!
What Are You Going to Need?
Of course, there are a few things you are going to need. Thankfully, we have a list of equipment and ingredients for you to follow!
Equipment;
- 1 Large Stainless Steel Pot
- A Larger Pot that can hold the first, or a sink big enough.
- A Food Thermometer
- 1 Colander
- Some Cheesecloth or Muslin Cloth
- A Cheese Knife or Long Kitchen Knife
Ingredients;
- 8 Pints of Whole Milk (Cow or Goat)
- ⅛ Teaspoon of Mesophilic Starter Culture
- 1 ¼ Teaspoon of Calcium Chloride
- ½ Rennet Tablet, in ¼ Cup of Water
- 8 Cups Cool Water
- 1lb Non-Iodised Salt
- 2 ½ Teaspoons Vinegar
Most of these things are easily accessible, with the Equipment being part of most people’s Kitchenware. Any ingredients that you are unsure of are available online – at places such as Amazon – if you don’t recognize them. The only other thing you will need is time – a few days of waiting to be precise.
Step-By-Step Instructions on How to Make Feta
Now, you should be ready with everything you need to start making your first batch of Feta Cheese! All you need to do is follow the steps below, and in a couple of days you can enjoy it!
Step 1 – Heating the Milk
Take your milk, and pour it into your large pot. Place the pot in the sink (or a second, larger pot/bowl) and then fill the sink with hot water – up to around ¾ of the edge of the pot. The aim is to gradually heat the milk without using a hob or any direct heat. Do this until the milk has reached 30 degrees Celsius.
Step 2 – Add your Starter Culture
Steadily stir in your Mesophilic Starter Culture. You can remove the pot from the water now as it should retain its heat fairly well, as opposed to over-heating or over-cooling if left in the water. You can bring it in or out of the water as needed to maintain the temperature for the next hour. (IMPORTANT NOTE – Starter Culture can come in various strengths, so do check the packet for the manufacturer’s suggested instructions on how much to use for different batches.)
Step 3 – Add the Calcium Chloride and Rennet
Take your ¼ teaspoon of Calcium Chloride, and stir it in to your mixture. If you are using a Rennet tablet, crush it and dissolve it in ¼ cup of water before adding it to the mixture. Liquid rennet can be added directly. Gently stir for 1 minute.
Step 4 – Leave and Maintain
At this stage, you simply need to leave the mixture alone for another 30 minutes, though you do need to keep its temperature as close to 30 degrees Celsius as possible. As such, like before, keep an eye on the temperature and either add it to, or remove it from the hot water as needed.
Step 5 – Check the Mixture
When it has set, your mixture should start to look something like yoghurt. To check that it is ready, gently press your finger in to the first knuckle. What you are looking for is that the mixture (or the Curd) creates a clean break around your finger. If, when tested, the Curd does not have a clean break – refer back to Step 4, and maintain it again for another 30 minutes.
Step 6 – Cut the Curd
Take a knife with a long blade – any long blade kitchen knife should do. Cut across the curd in one direction in roughly 1 inch spacing, making sure to cut the lines all the way down through the curd. Then, turn the pot, and cut at a 90-degree angle from the first cuts in the same manner. This should form roughly 1 inch squares across the curd. Finally, cut across the squares diagonally, at a 45-degree angle.
Step 7 – Separate the Curds from the Whey
Very gently, stir your chunks of curd. Then, return the pot to the hot water and raise the temperature to 35 degrees Celsius. Keep the temperature around this for an hour, making sure to avoid it exceeding 40 degrees Celsius. This should start to separate the Curds from the Whey. Then line your colander with the cheesecloth/muslin cloth, and pour in your curds and whey. Bring the cloth together around the mixture, and tie a tight knot over it. Leave to drain at room temperature for 4 hours. The curds should now have somewhat formed together. Cut these new curds into roughly 3 inch wide blocks, and leave them to drain for another 30 minutes.
Step 8 – Brine it!
Next, make a saturated brine for the blocks. Dissolve between 1 and 1 ¼ pounds of Non-Iodised Salt into 2 litres of water. Do this by adding a little bit of salt at a time until it no longer dissolves fully. Add in 1 teaspoon of Calcium Chloride, and then 2 ½ teaspoons of Vinegar. Take your blocks from the cloth, and add them to the brine – fully submerged. Leave them in for 10 to 12 hours. Try not to leave them in any longer than this, or they will become particularly salty.
Step 9 – Drain the Feta and wait.
Once this is done, drain off the brine, and leave the cheese uncovered at room temperature somewhere clear and safe for between 1 and 2 full days.
Step 10 – Enjoy!
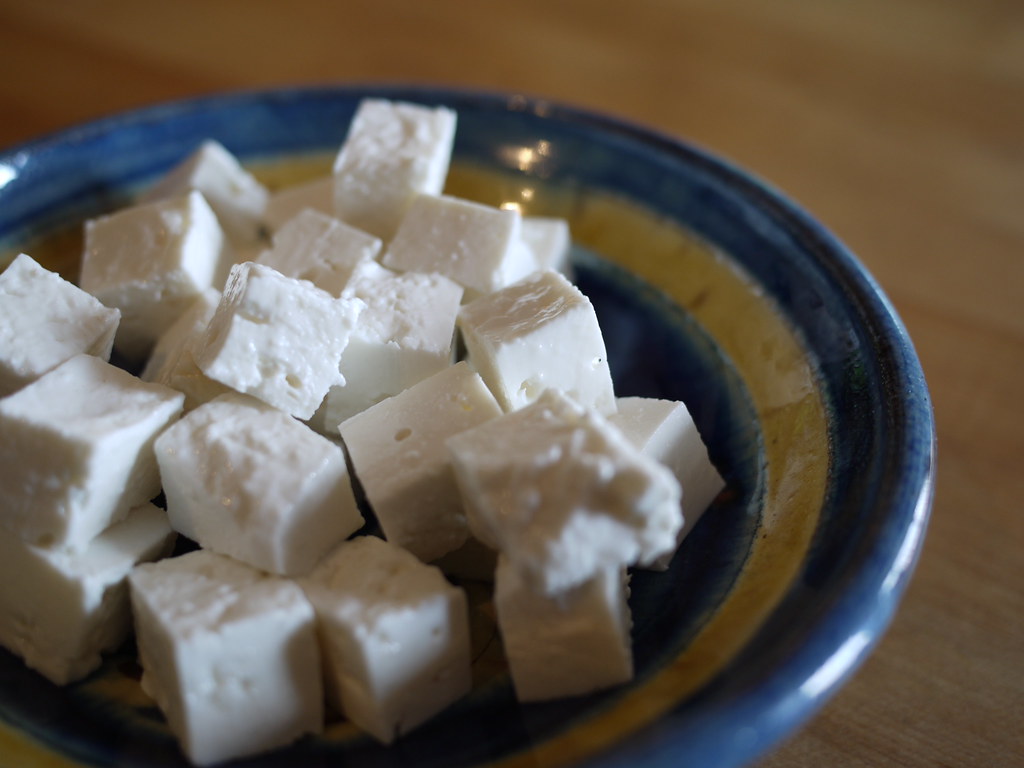
Your Feta is ready! Congratulations! Now you can divide it how you choose, pop it in containers, and store it somewhere cool – like a basement or fridge. It should be good to eat for the next 1 to 2 weeks – job well done! If you want the Feta to last even longer, you can make a second, lighter brine, to keep it for several months. Use 2 tablespoons Non-Iodised Salt, dissolved in 2 cups of water, then adding ¼ teaspoon Vinegar and ¼ teaspoon Calcium Chloride.
A Few Great Feta Recipes
- 5 Minute Marinated Feta – A Lemon Zest flavoured way to enhance your Feta!
- Herbs and Chilli Feta – For those that like their Feta to have a little bit of a Spice!
- Feta with Olive Oil and Herbs – Simple does not mean boring – try it out!
Final Thoughts
Well, there you have it! By now you should be well on your way to being able to make your own Feta Cheese!
If you found this article helpful, why not check out some of our other pieces at showingyouthewhey.com – if Cheese is your thing, have a look at this guide on making Gouda! Or maybe you would like some home baked Bread to go with it! There is plenty more to see, so give us a look!