
How to Make Bone Broth (and What it Can be Used for)
Bone broth can be used for a variety of things in and out of the kitchen. Since it has increasingly become more popular, it seems like this could be a useful thing to know how to make from home – don’t you think?
Sure, you can probably find some great bone broth at different supermarkets, but where’s the fun in that? We already know that everything tastes better when it’s made at home, and bone broth isn’t any different!
The funny thing about bone broth recipes is that there are so exact measurements. Everyone’s broth will be a bit different, and it all still manages to work. So, while it’s nice to be able to measure things out, that won’t be the case here – we’re using our hearts.
What is Bone Broth?
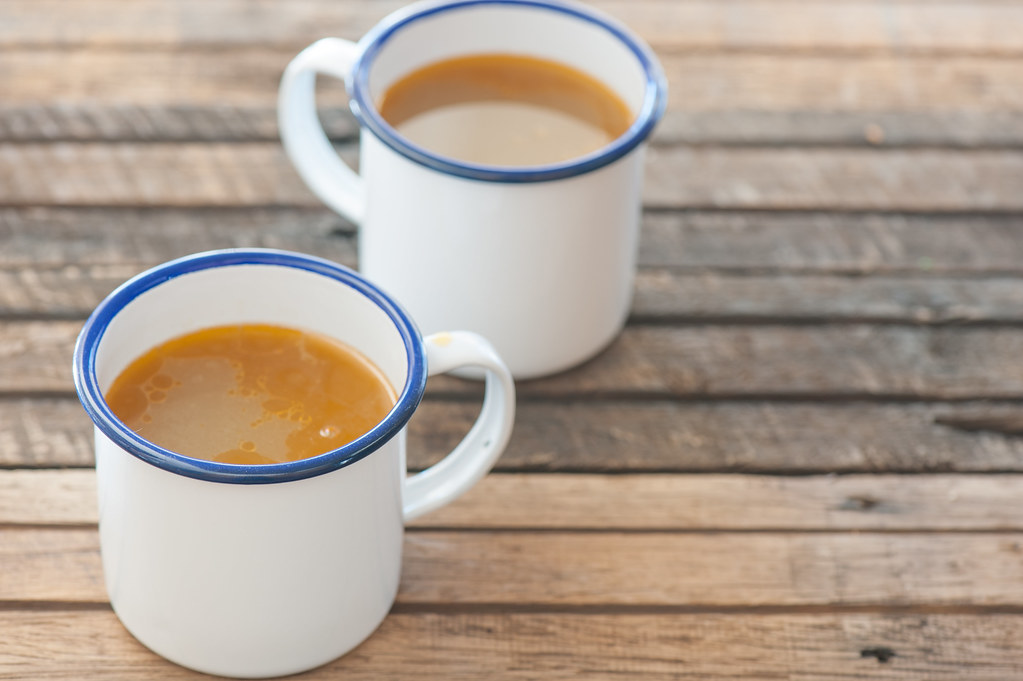
Bone broth is essentially water that has been flavoured by simmering animal bones in it for an extended period of time. At its most basic, a bone broth is simply water and bones. However, you can add a variety of things into the mix to make it more flavourful and different.
You could add various vegetables and also seasonings to make your bone broth one of a kind. When it comes to choosing the bones for bone broth, you could opt for beef, turkey, chicken, pork, fish, and anything else you want!
How Long Does it Take to Make?
You can expect bone broth to take anywhere between 12–48 hours. Obviously, the longer the bones get to simmer, the more flavourful the broth is going to be. However, we all have things we need to do, and time scales to work on, so you can ultimately choose.
We would recommend a minimum of 24 hours for this. This time will give you fantastic flavour, and it should give the bones enough time to release plenty of collagen (which will thicken the broth).
What Are the Benefits of Making Bone Broth?
Bone broth in general has lots of benefits to it. Broth is usually good for health, and could even help to improve your overall health! It is also packed full of great nutrients – especially when you add in all kinds of different vegetables.
Here are a few other benefits of making bone broth that might convince you if you’re on the fence about trying it out:
- It’s delicious – it goes without saying, bone broth is very tasty. While the idea might seem a bit weird at first, the flavour that the bones (and vegetables) impart makes this the perfect kind of thing for various dishes!
- Homemade tastes the best – again, homemade is always best. Not only do you know exactly what is going in there, but you can season it however you like, or even not season it at all. If you want a spicy broth, you can do exactly that. If you want an oniony broth, you can do that, too!
- It can save you money long term – going out and buying broth all the time could cost you some money, especially when you are only buying cartons at a time. By making your own, a single batch could make double or triple that, and for a fraction of the price.
- Making bone broth can help to reduce food waste – if you often have bones leftover (or even better, you live on a farm), using those bones for broth is a fantastic idea. You can also use vegetables that are on the verge of going off in your bone broth, which you might not otherwise want to use for a regular meal.
With all that being said, bone broth is so easy to make that it’s worth making anyway! You could make it and give batches to your friends and family, or use it another way
How to Make Bone Broth
Making bone broth is very easy, but it does take a while. We will go through all the basics you need to know right here.
Okay, so we established that you are going to need bones and water to make your bone broth, but what else? Here are some additional ingredients that you could consider adding to the mixture to step it up a notch:
- Carrots
- Scallions
- Parsley
- Celery
- Thyme
- Pepper
- Garlic
- Bay leaf
- Onions
- Salt
- Ginger
- Basil
- Cilantro
- Peppercorns
There are three different ways you could make your broth: on the stove, in a slow cooker, or in a pressure cooker. Just pick the one that suits you best, and go from there! If you use a pressure cooker, the time can be significantly reduced (timed for around 120 minutes). However, for both stovetop and slow cooker methods, allow 12–48 hours (with 48 hours getting the best results).
Here’s a step-by-step guide for making your own broth:
- Blanch your bones! This essentially just means boiling the raw bones for around 20 minutes to make sure you get rid of any impurities.
- Once blanched, it’s time to roast your bones. This will caramelise them wonderfully and make them more flavourful. For beef bones, put them in a roasting pan in the oven for around 30 minutes at 220°C. You should also roast your vegetables, but use your discretion for that timing depending on what you’re using – don’t burn them!
- After roasting, you can add your bones and vegetables (if using) to whatever you are making your broth in! A pot, a slow cooker, a pressure cooker, you pick. As soon as you’ve got the bones in there, fill it up with water and turn on the heat.
- You can also add whatever seasoning options you like at this point.
- Now, just let it simmer away.
- If you intend on letting the broth simmer for more than a day, be sure to check on it occasionally and top it up with water if need be. The bones must always be covered with water and never dry out.
- Once the simmering time is over, and you’re happy with the taste of the broth, it’s time to strain it! Remember – you want the liquid in this recipe, this isn’t pasta! Make sure to put a big enough bowl under the sieve to catch all that tasty broth.
- Now, leave the broth to reach room temperature before putting the bowl in the fridge.
- Give the broth some time to properly chill – this will make the fat rise to the top and conceal so that you can scoop it out and either use or discard it.
- Once the fat has been removed, you can transfer the broth into Mason jars or something similar for storage, or use immediately.
- That’s all there is to it.
Want to Make Your Bone Broth Thick?
If you would like your bone broth to be more gelatinous, it’s easy to do. While preferences vary, there are some guidelines we can offer if you are looking for that classic, thick broth.
It’s important to use bones that have a lot of connective tissues if you want a thick broth. You want bones with marrow, connective tissue, and cartilage, as these all have collagen in them. The more water you add to a put, the more watery the finished broth will be. So, if you want a thick broth, just use less water!
However, the bones must always be covered with water. So, no matter how thick you want your finished broth to be, do not let the bones be exposed to air. As such, you will need to check on them as they simmer and top up the pot when needed.
As a general rule of thumb, for a thick gel, you can use the following guidelines:
- 6-quart pot, slow/pressure cooker – 2–3 lbs of bones
- 8-quart pot, slow/pressure cooker – 3–4 lbs of bones
- 10-quart pot, slow/pressure cooker – 5 lbs of bones
Storing Bone Broth
So, once the broth has been decanted into the jars or containers you want it in, you can either keep it in the fridge or the freezer, depending on when you will use it. Jars work well, but you could even try storing them in ice cubes if you only need small quantities at a time.
If you’re using jars, make sure to leave around ½ an inch of space at the top to allow the liquid to expand when it freezes. In the freezer, your bone broth will last up to 6 months, so you have plenty of time to use it.
Otherwise, store the broth in jars and keep them in the fridge if you know you can use it within the next 3 days.
How You Can Use Bone Broth
In cooking, you can use bone broth for all kinds of things, such as cooking pasta, rice, risotto, and much more. However, you could also use it to make savoury scones and similar dishes where you want a nice, rich flavour.
Bone broth is great for soothing sore throats, too, so it wouldn’t be weird to just walk around sipping some warm broth!
If you like, you can even use bone broth in gardening. Of course, if you are doing this, there is no need to add seasonings, and you don’t want to add salt. Bone broth has lots of phosphorus in it, which will help plants to flower and root production in new plants.
So, bone broth is a lot more versatile than you might initially think! Just try to imagine what you are going to be using the broth for when you are making it. If you intend to use it for gardening, skip all the fancy stuff and keep it simple and low-sodium. Your plants don’t need all the extra stuff!
Final Thoughts
If you ever wanted to make bone broth at home, but never knew how – now you know! This is just a small thing you can do to help yourself become more self-reliant and self-sufficient. If you love having flavourful food, and always find yourself heading to the grocery store for both, stop and think – why don’t I just make this myself?
It’s easy, but admittedly, time-consuming. However, the results are always worth it, and you really can’t go wrong.
Feel free to check out our range of other articles here! From learning how to make cheeses at home like mozzarella, gouda, and halloumi, to finding out more about goat’s milk, cheese cultures, and rennet, there’s plenty to learn. You will quickly learn that we love to make cheese at home and discover ways to use things like whey — stick around and find out more!